
If your dehumidifier isn’t running like it used to, you may need to do some repairs. But don’t worry — we have a guide that can help! You’d be surprised how easy dehumidifier repair really is! With this guide, you’ll be able to quickly and easily diagnose and repair your dehumidifier, so you can get back to enjoying the comfortable humidity levels in your home. Need help repairing your dehumidifier? Look no further! Our easy-to-follow guide will walk you through the process, step by step. Get it fixed now! Let us know if you need further help as well, we can walk it over with you over email, or text.
#1. Start By Unplugging The Dehumidifier
First things first — make sure to unplug your dehumidifier to ensure everyone’s safety. Once it’s unplugged, you can move on to the next steps and begin the repair process. Be sure to wear gloves while inspecting and working on the machine, as it could still be energized and contain sharp edges or hot surfaces. It’s also important that you refer to your owner’s manual before beginning any repairs.
Next, remove the back cover to the dehumidifier and check the fan and compressor blades for visible signs of damage. If they appear worn out or bent, they may need to be replaced. Also make sure that all wires are securely connected and none have become disconnected, as this can also cause issues with the dehumidifier’s performance. Once you’ve inspected all components, reassemble the machine in reverse order and try running it again.
#2. Remove the filters and clean them.
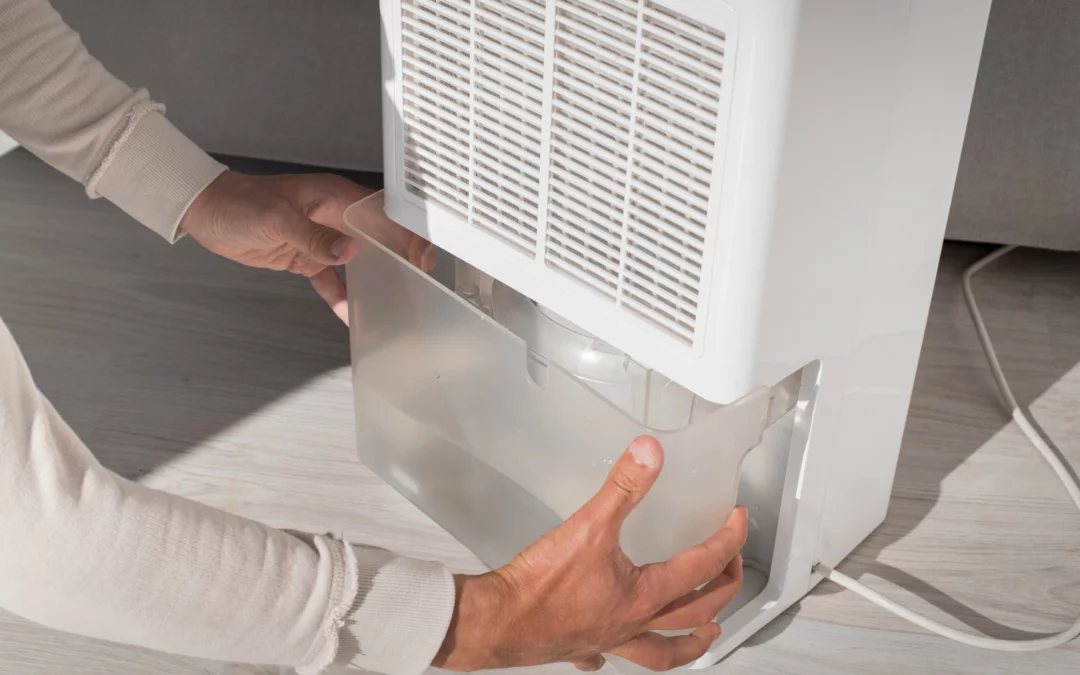
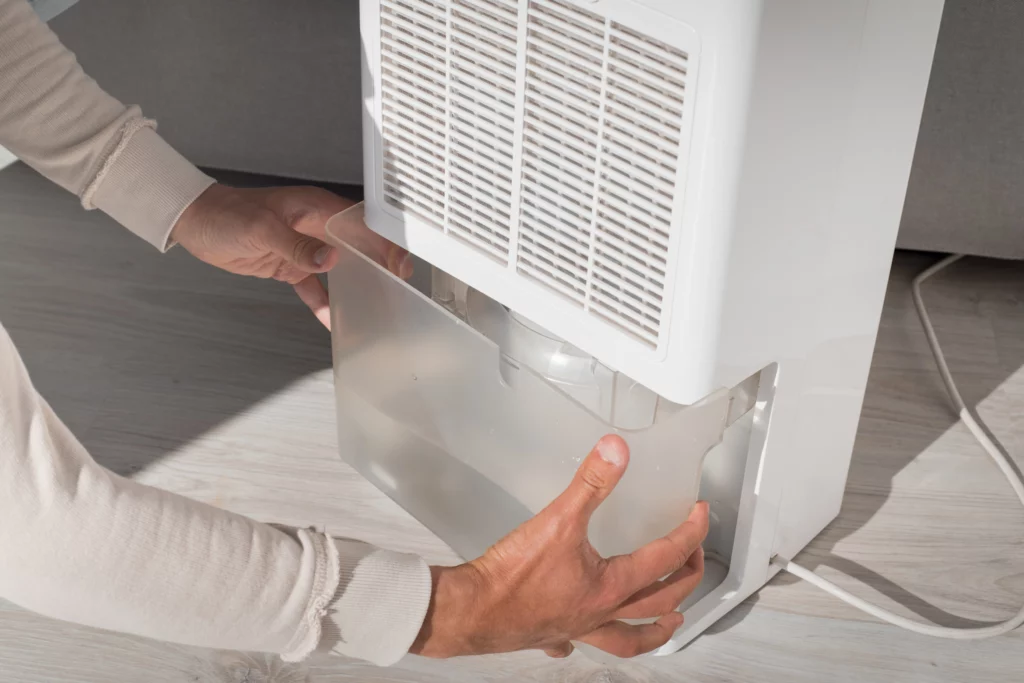
It’s important to clean the filters regularly so that your dehumidifier can run efficiently. Begin by removing the air filters, which are typically located on either side of the machine. Depending on the model of your appliance, you may need a small screwdriver or similar tool in order to open it up. Once the filters are out, use a vacuum cleaner and/or damp cloth to clean them off, making sure there is no dust or debris left behind. Lastly, place them back into their slots and secure the cover tightly.

#3. Check For Visible Damage Or Blockages In The Air Intake and Exhausts
To ensure that your dehumidifier functions as expected, you must inspect the air intake and exhaust valves for any signs of wear and tear, or possible blockages. Make sure all connections are secure, without any loose parts or openings where warm air might be entering the system. If necessary you may need to replace damaged components to ensure the appliance runs properly. Use professional tools if necessary and be very careful when doing so!
In addition to any visible damage or blockages, it is important to clean the air intake and exhausts. Use a brush or vacuum cleaner to remove dust, dirt or other debris that may be obstructing the passage of air. You should also inspect the cooling coils for any signs of corrosion or dust accumulation, as this could impair their ability to effectively cool your dehumidifier. If all connections are secure and you’ve confirmed there are no potential blockages, however, it is most likely an issue with either the compressor motor or fan. In this case, contact an appliance repair technician for professional help resolving the problem.
#4. Clean The Unit With A Damp Cloth And Inspect Other Signs Of Damage Or Corrosion
Take a damp cloth and proceed to wipe the exterior of your dehumidifier. Make sure to inspect it thoroughly for signs of wear and tear such as cracks, chips or other flaws that can compromise the functionality of your appliance. If you detect any corrosion, use a rust remover specifically designed for these types of appliances. If necessary, consult a professional specialist to ensure that the repairs are done correctly and safely.
Once you are done cleaning, it’s time to check the unit for other signs of damage or corrosion. Look at the casing and connections to make sure they are intact and there is no moisture leakage from within. Also, inspect the fan and filters to ensure they are clean and not blocked. Finally, if your unit came with a filter reset button, press it after every few weeks to ensure your dehumidifier continues to work effectively.
#5. Test To Check If Power Is Still Running To The Unit By Plugging It In To Observe If Any Lights Come On Or Off When You Press Any Buttons
If the dehumidifier starts but then shuts off, the issue may be related to a power supply problem. To check if power is running to your unit, try plugging it in and observing if any lights come on or off when you press any buttons. If no lights come on at all, the outlet may not be functioning properly and need to be replaced. Additionally, ensure that the plug is firmly connected to the dehumidifier itself and not loose in any way.
If the plug and power outlet are functioning properly, you may need to check the circuit breaker of your home. Depending on the size of your home, this breaker could be located in several places; it’s best to consult with an electrician if you’re not sure of its location. If a problem is detected with either your power outlet or the circuit breaker, it may require professional repairs before any further steps can be taken to diagnose the dehumidifier.
Recent Comments